Valentine's Day Cake (Levelling, Filling, and Frosting the Cake) – Part 2
This post continues from my earlier post.
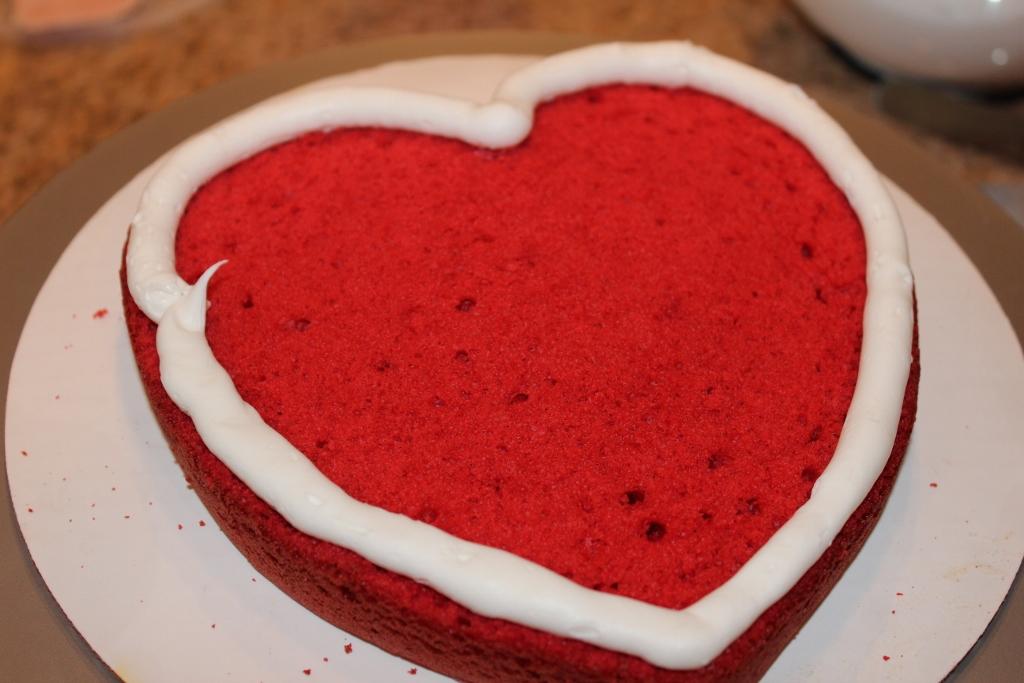
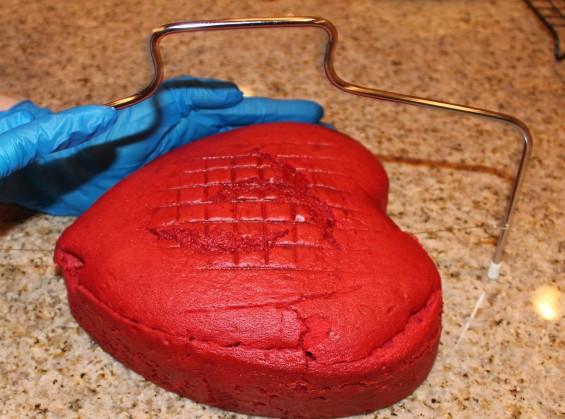
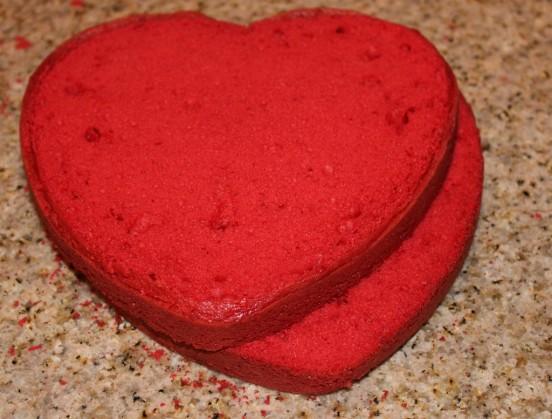
- Level and torte your cooled cake with a serrated knife or cake leveler .
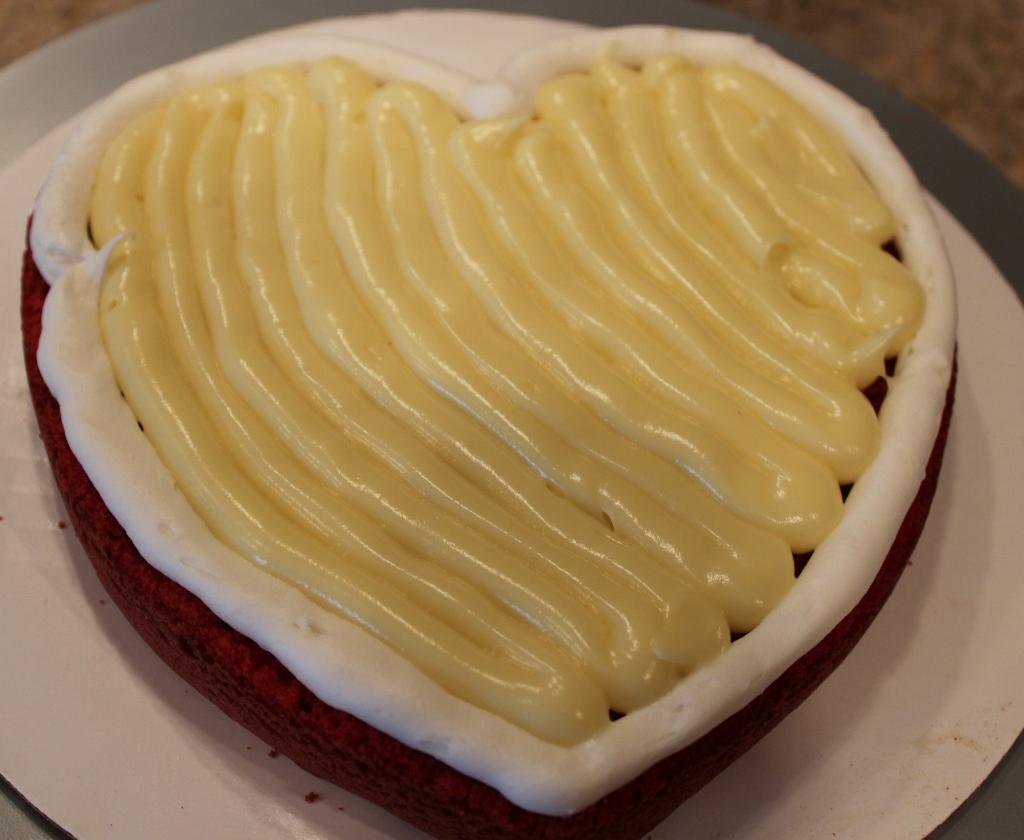
- To fill the cake, pipe a thick layer of buttercream around the cake to create a dam. Then pipe in the filling and even it out with a spatula.


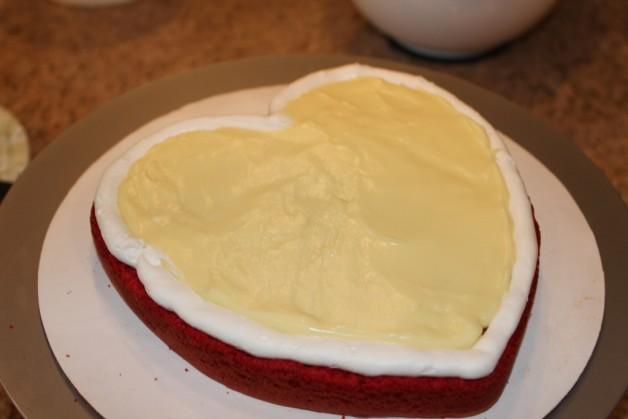
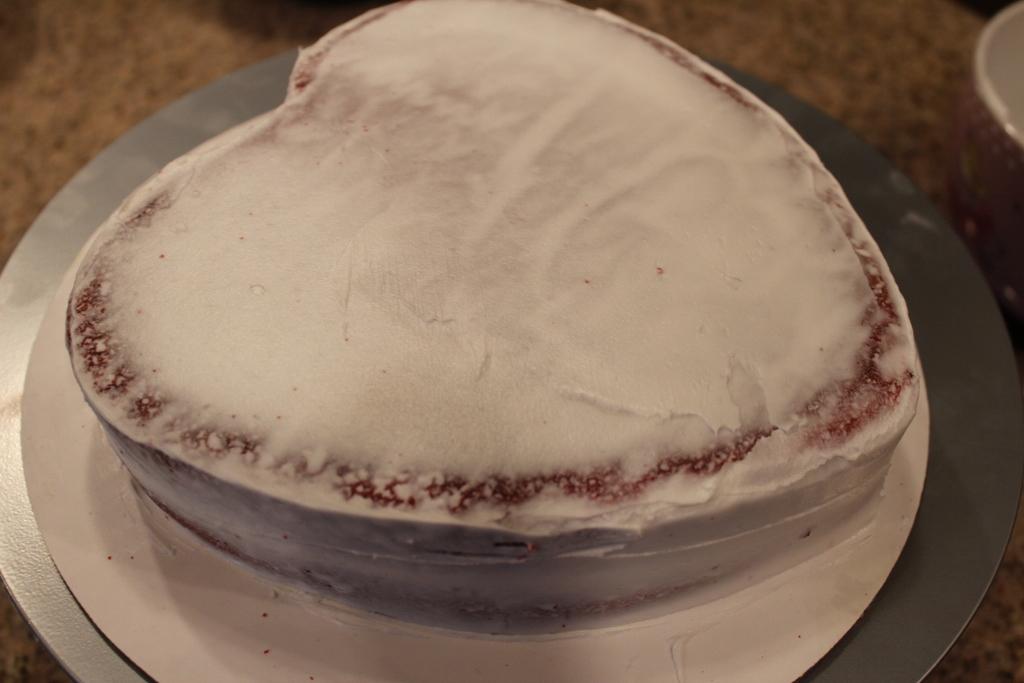
- Chill the cake in the fridge then frost with a thin layer of buttercream. This is just a crumb coat which will help seal the cake and prevent crumbs from appearing in the final coat of buttercream. Put the cake back in the fridge.

- Once the icing is dry to touch, apply the final layer of buttercream. Using a spatula
and icing smoother
will help make a smoother and sharper results.

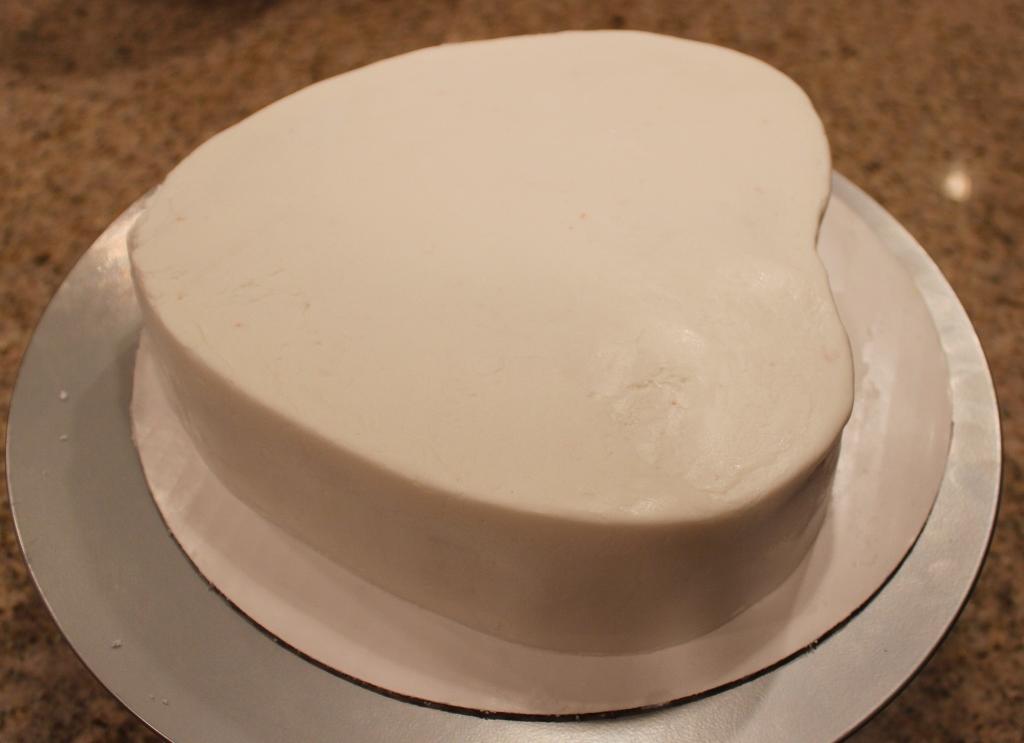
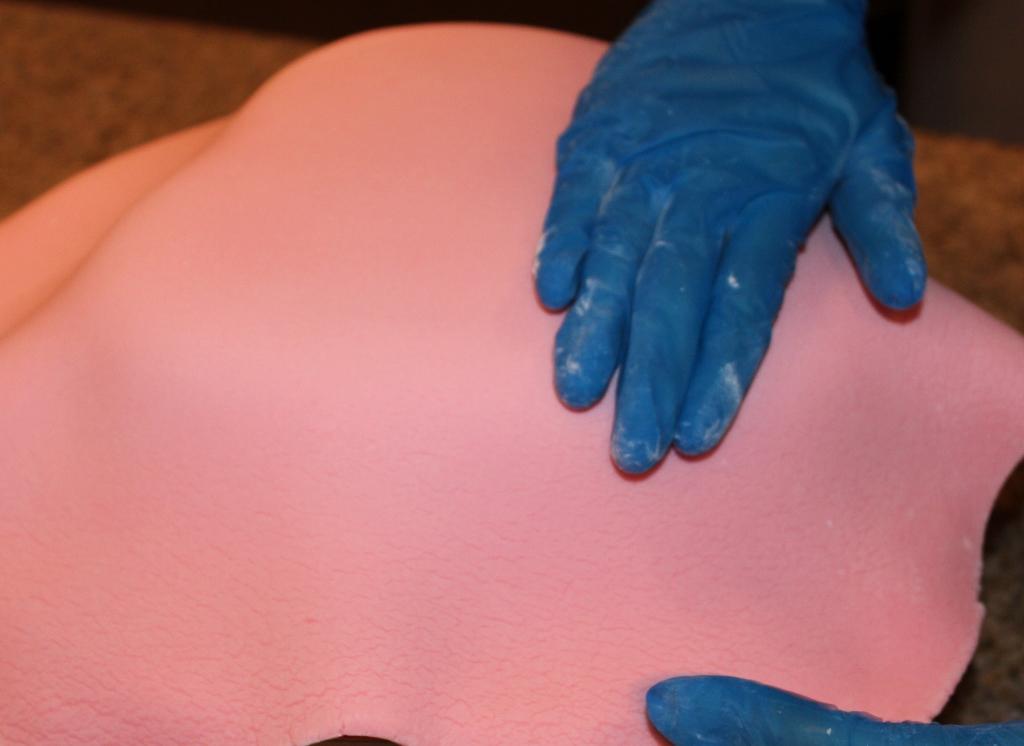
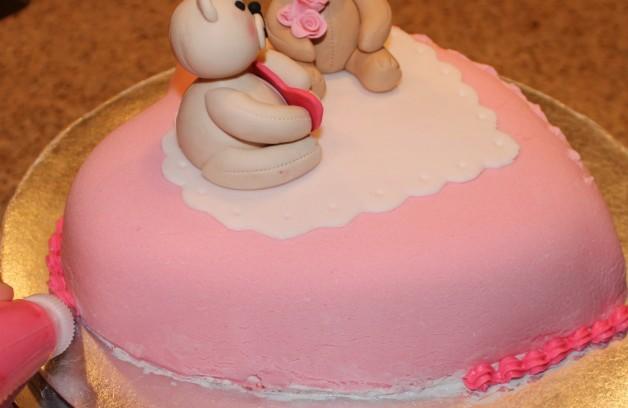
- Roll out the fondant and cover the cake. Use your hands to smooth out any bumps and cut off excess fondant. To make the cake really smooth I like to use a fondant smoother
.

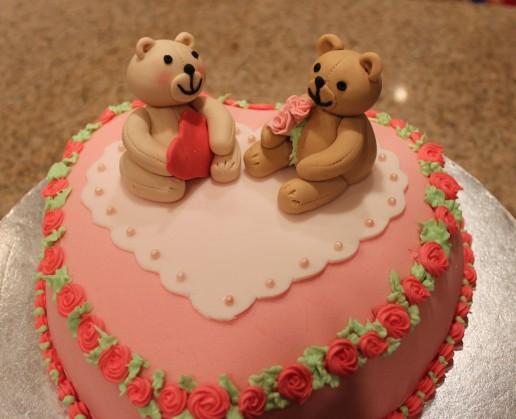
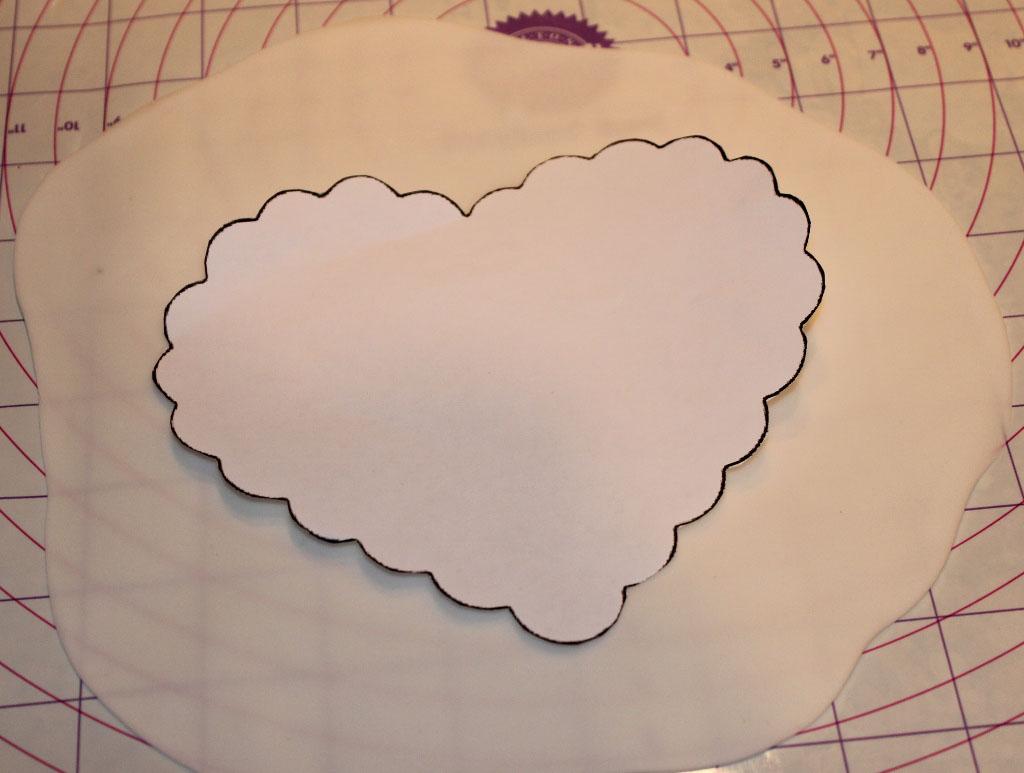
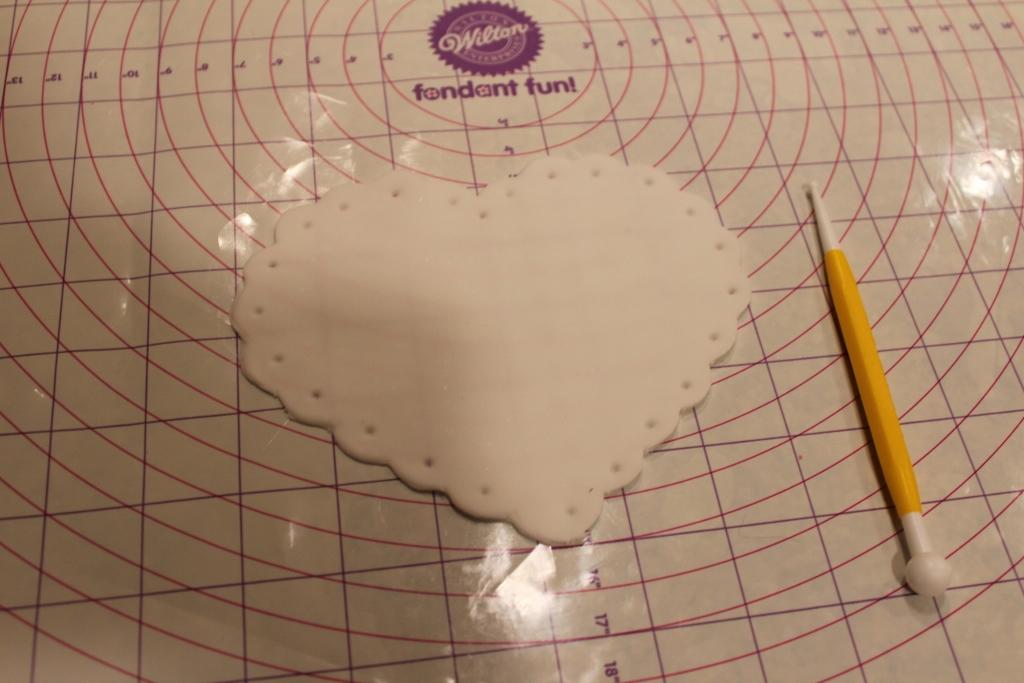
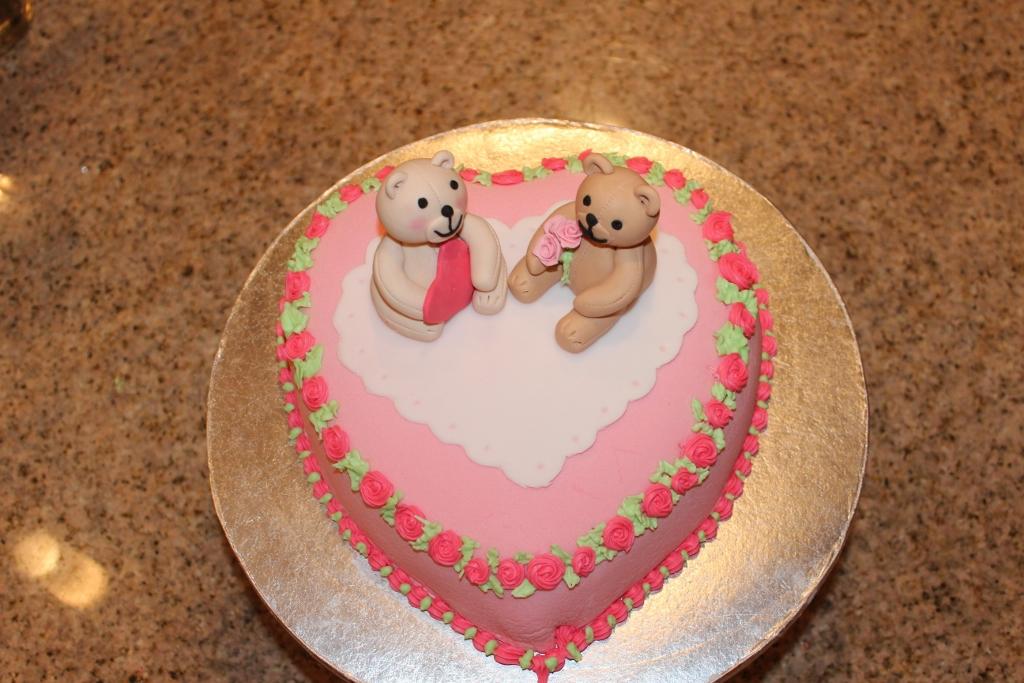
- I printed a scalloped heart pattern I found on the internet and used this as a template to cut around. If you have a scalloped heart cookie cutter you could use that instead. Use a small ball tool to make dents around the heart.


- Stick the heart on to the cake using a little water or edible glue and place the bears in the heart.
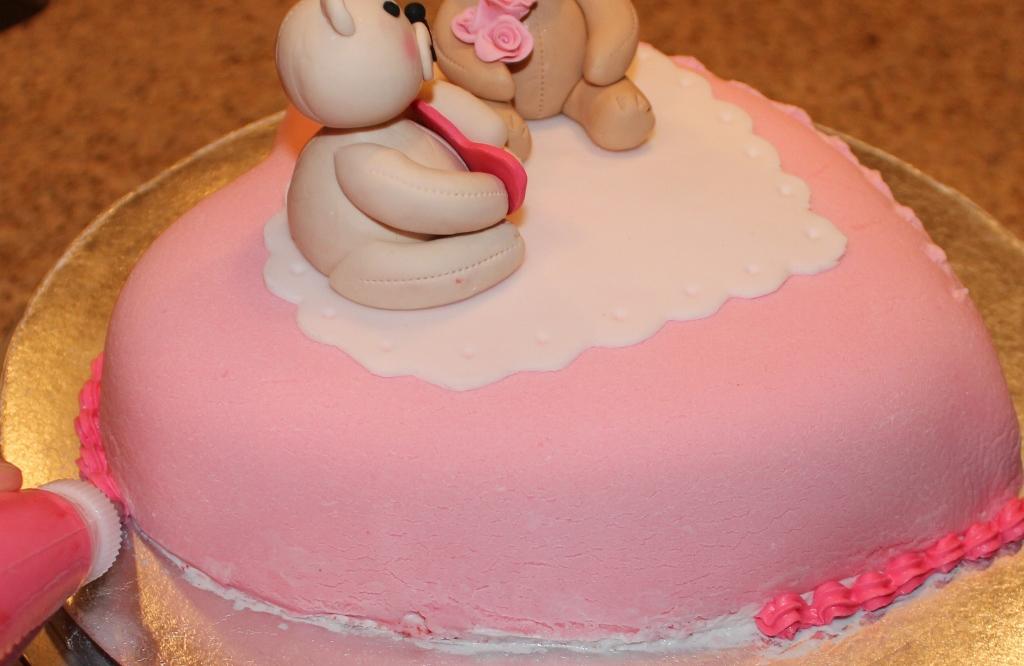
- Use royal icing to make the border on the bottom of the cake.
- Make the top border by piping rosetts and leaves.
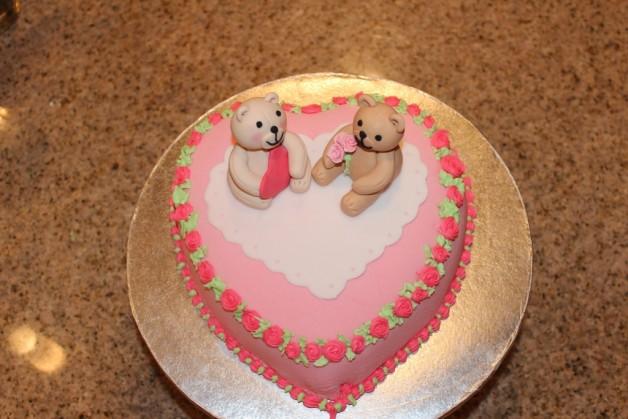
- For the finishing touch glue some edible sugar pearls into the heart indents.